
Now that the weather is cooler and I know that the temperature will drop at any time to where tropical plants will not tolerate, I have made a decision to harvest my Lemon Grass and keep them in my fridge to use in my cooking this winter.
Before starting this task, I put on denim pants, long sleeved shirt and gardening gloves to protect my skin from the sharp leaves of these plants.
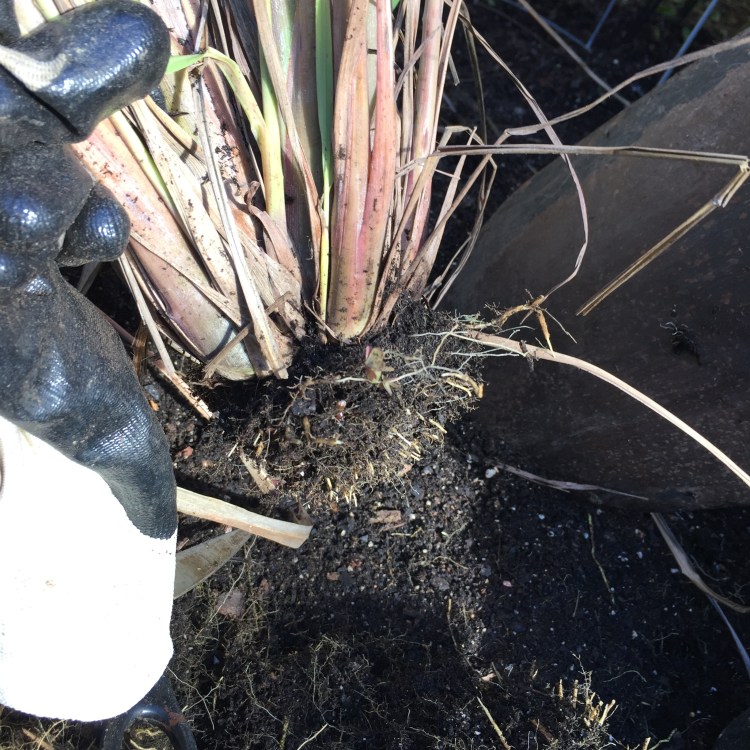
I would say that harvesting Lemon Grass is labor intensive, at least for me. I need the physical exertion so I did not mind this rigorous activity. I planted all my lemon grasses in big pots this year due to having learned through my friends experience that planting lemon grass in an open field is not such a good idea. It was almost impossible to dig the whole clump because of the dense sturdy roots it sends down through the soil underneath it. The photo below shows just how dense the roots are!
The technique of getting the root ball out of the pot depends on what kind of pot the Lemon Grass is planted on. The photo above shows that I used a black nursery pot to plant the Lemon Grass in and it was easy enough to get the whole root ball out. All I have to do is tap the sides and botton of the pot then shake the plant loose and it came out easy. If the plant is planted in a pot that has a water reservoir at the bottom of the pot, the water reservoir tray has to be removed first and the roots that extend to the water reservoir tray has to be clipped before I can successfully remove the clump out of the pot. See photo below.

Once I cut the roots that extend to the water reservoir tray, I can tap the sides and bottom of the pot and shake and pull the clump out of the pot just like I did for the one planted in the black flower pot.
Once the clump is out of the pot, I used a shovel to remove the dirt surrounding the plant and at the bottom of the plant. See photos below.
Then I separate each plant by pulling each plant apart from the clump until all are separated from each other. See photo below.

The next step is to cut the leaves off each plant with the use of sharp scissors and also clip the roots with the use of sharp limb clipper. Then remove the dead or dried leaves.
Wash the individual plants thoroughly using rubber gloves or disposable gloves to protect hands from cuts as the edge of the leaves and stalks of the plants are sharp. Spread the cleaned plants on a dry towel. See photo below.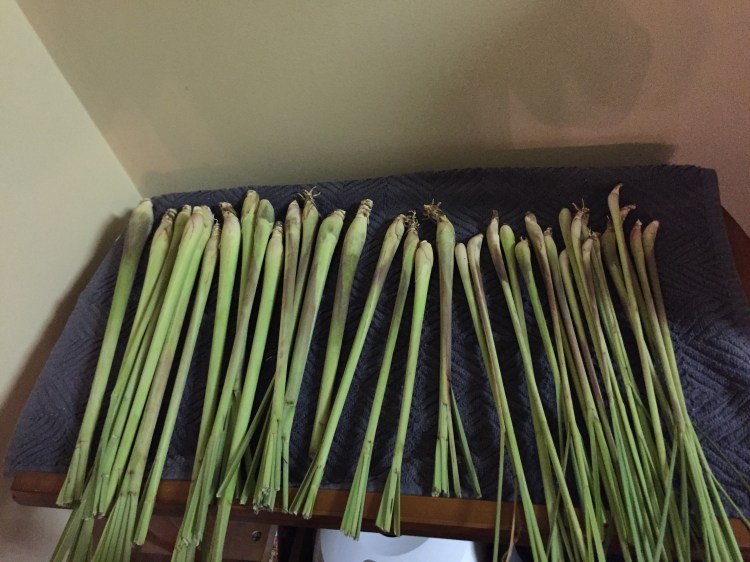
Once the plants are free of excess water from washing, put them in a big plastic bag and place inside the fridge. See photos below.


The photo on the left shows young plants which I will use as seedling for next year. The photo on the right shows mature plants which I will use for cooking and give away to friends.
